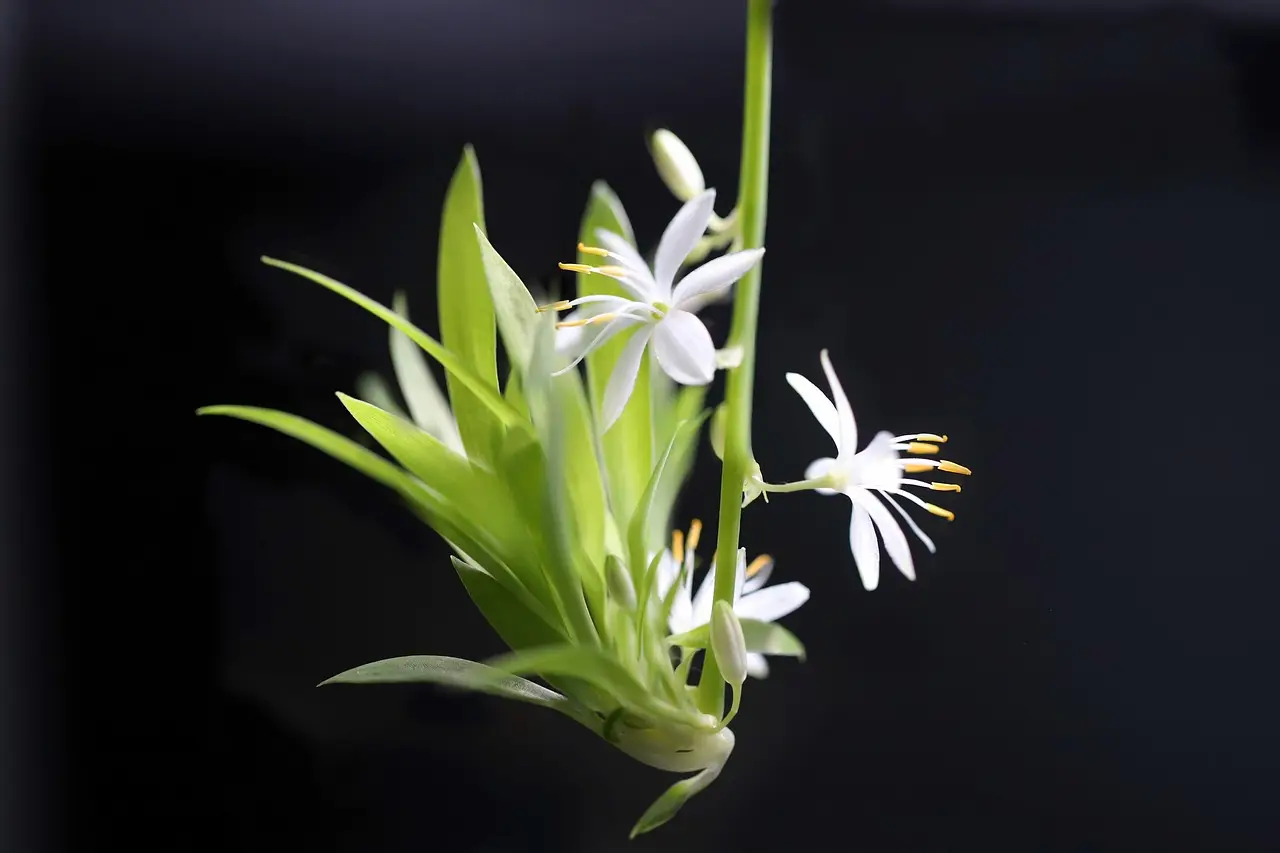
Repotting Spider Plant Babies: Easy Propagation Guide
Quick answer
Repotting spider plant babies is a quick way to propagate new plants from mature spiderettes. Simply snip plantlets with visible root nubs and pot them into well-draining soil or root them in water. Placed in bright, indirect light with consistent moisture, young spider plants develop strong roots within two to three weeks.
Key takeaways
- Wait until spider plant babies have root nubs or visible roots before repotting.
- You can root spiderettes directly in moist potting soil or start them in a glass of water.
- Use small 3- to 4-inch pots with drainage holes to prevent root rot in young plantlets.
- Spider plants thrive in bright, indirect sunlight and well-draining potting soil.
- Spider plants are non-toxic to cats and dogs, making them safe for pet-friendly homes.
Quick facts
| Botanical Name | Chlorophytum comosum |
|---|---|
| USDA Hardiness Zones | 9–11 (Perennial outdoors); Zones 1–8 (Indoor houseplant) |
| Light Requirements | Medium to bright, indirect sunlight |
| Watering Needs | Allow top 1–2 inches of soil to dry out between waterings |
| Soil Type | Well-draining, standard potting mix |
| Pet Safety | Non-toxic to cats and dogs |
When Is the Best Time for Repotting Spider Plant Babies?
The optimal timing for repotting spider plant babies is during the active growing season in spring and early summer. During these warm months, the mother plant has abundant energy, and the offshoots—commonly called spiderettes or plantlets—root quickly. In USDA Hardiness Zones 9 through 11, spider plants can grow outdoors year-round. However, for most indoor gardeners across the United States, room temperature warmth and bright spring light provide the ideal boost for young root development.
Before you remove a baby plant, check its base for readiness. A spiderette is ready for repotting when it has developed small, knob-like root starter nubs or visible roots that are at least half an inch long. If you cut a baby plant too early when it has no root nubs, it will take much longer to establish in soil and faces a higher risk of wilting or failing.
While spring is ideal, indoor houseplants can technically be propagated year-round if provided with warm room temperatures and adequate supplemental light. If your parent plant is crowded or producing dozens of offshoots, removing and repotting a few spiderettes helps relieve stress on the main plant while expanding your indoor garden.
Essential Supplies Needed for Propagating Spiderettes
Gathering the correct materials beforehand makes the repotting process fast and stress-free for your young plantlets. Because spider plant babies are small, using the right pot size and soil mixture is crucial for preventing excess moisture retention around delicate young roots.
- Small Nursery Pots: Select 3-inch or 4-inch containers with functional drainage holes. Plastic or terracotta pots both work well. Avoid using large pots, as excess soil holds too much water and can cause root rot.
- Well-Draining Potting Mix: Standard indoor potting soil blended with perlite or coarse sand provides excellent aeration and prevents compaction.
- Clean Cutting Tools: A sharp pair of scissors or pruners sanitized with rubbing alcohol ensures clean cuts that do not introduce fungal or bacterial pathogens.
- Water Container (Optional): A small jar, glass, or propagation vase if you prefer to root your plantlets in water before moving them to soil.
- Watering Can or Spray Bottle: A spray bottle or small spout watering container allows gentle moisture delivery without disturbing newly placed soil.
Method 1: Repotting Spider Plant Babies Directly in Soil
Planting spiderettes directly into soil is the most straightforward method because it avoids the transplant shock that sometimes occurs when moving plants from water to soil. When done correctly during active growth, soil propagation yields strong, resilient root structures.
- Inspect the Offshoot: Examine the bottom of the spiderette attached to the long stem (stolon). Ensure it has visible brown root nubs or small roots forming at the base.
- Sever the Runner: Using clean pruning shears, clip the stem connecting the baby plant to the mother plant. Cut as close to the base of the baby plant as possible without damaging its root nubs. You can discard the long runner stem back to the main foliage.
- Prepare the Pot: Fill a 3-inch pot with lightweight, well-draining potting mix. Leave about half an inch of space below the rim for easy watering.
- Plant the Baby: Make a small depression in the center of the soil. Insert the base of the spiderette into the hole, ensuring the root nubs are buried while the leaves remain entirely above the soil surface. Gently press the soil around the base to anchor it.
- Water Thoroughly: Water the soil until moisture drains from the bottom holes. Place the pot in a warm location with bright, indirect light.
- Maintain Moisture: Keep the soil slightly moist for the first two to three weeks while roots develop. Once the plant resists a gentle tug, reduce watering frequency to standard care routines.
Method 2: Rooting Spider Plant Babies in Water First
Water propagation is a fun and visual way to watch root progress before moving your plantlets to permanent soil containers. This technique is especially useful for smaller spiderettes that only have tiny root nubs.
- Clip the Baby Plant: Snip the spiderette off the runner stem using clean, sharp scissors.
- Position in Water: Suspend the base of the baby plant in a small jar or glass of room-temperature tap water or rainwater. Ensure only the bottom root zone is submerged. Leaves should remain above the water line to prevent rotting.
- Provide Bright Light: Set the jar in a warm spot that receives plenty of bright, indirect sunlight. Avoid harsh, direct sun, which can heat the water and damage delicate tissue.
- Change Water Regularly: Replace the water every three to five days to keep it clean and oxygenated. This prevents bacterial growth and algae formation.
- Transfer to Soil: Within two to three weeks, white roots should grow to at least one or two inches long. Once roots reach this size, carefully pot the baby plant into soil following the steps in Method 1.
Method 3: Layering Spider Plant Babies While Attached
Layering is the safest propagation method because the baby plant continues to receive nutrients and water from the mother plant while developing its new root system. This method guarantees a near 100% success rate.
- Set Up Nearby Pots: Place a small 3-inch pot filled with moist potting mix right next to the mother plant.
- Anchor the Plantlet: Without cutting the connecting stem, press the base of the attached baby plant into the surface of the soil in the new pot.
- Secure the Stem: Use a bent paperclip, hairpin, or small landscaping staple to gently pin the stem down so the baby plant maintains direct contact with the soil.
- Keep Soil Moist: Water the small pot regularly to keep the soil surface lightly damp.
- Sever from Parent: After two to three weeks, check for roots by gently pulling on the baby plant. Once it is firmly rooted in its own pot, snip the connecting runner stem cleanly.
Care Guide for Newly Repotted Spider Plants
Proper care during the first month after repotting determines how quickly your new spider plants grow into full, bushy houseplants. Follow these care standards to maintain optimal health.
Light Requirements
Provide medium to bright, indirect light. Direct sunlight can scorch tender foliage, causing brown, crispy patches on the leaves. Low light slows growth and reduces the vibrant foliage striping on variegated varieties.
Watering and Moisture
While young transplants need consistent moisture for the first few weeks, established spider plants prefer the top 1 to 2 inches of soil to dry out between waterings. Use distilled water, rainwater, or tap water that has sat out overnight if your local municipal water contains high levels of fluoride or chlorine, which can tip leaves brown.
Soil and Potting
Always use rich, well-draining potting soil. Ensure pots feature drainage holes. Spider plants produce thick, fleshy tuberous roots that retain water; poorly draining soil rapidly leads to root rot.
Fertilization and Feeding
Do not fertilize newly repotted spider plant babies for the first 4 to 6 weeks. Fresh potting mix contains enough natural nutrients. Once established, feed monthly during spring and summer with a balanced indoor plant fertilizer diluted to half strength. Never fertilize during fall and winter when growth naturally slows.
Pruning and Maintenance
Trim away any discolored or brown leaf tips using clean scissors. Cut at an angle to match the natural leaf shape for a clean look.
Pet Safety
Spider plants (Chlorophytum comosum) are non-toxic to cats and dogs according to ASPCA standards. However, cats are often naturally attracted to the leaves because spider plants contain mild chemical compounds that can produce a mild hallucinogenic effect in felines. Keep plants slightly elevated or on shelves if your pets chew them excessively, as eating large quantities of plant material can cause mild stomach upset.
Troubleshooting Common Issues After Repotting Spider Plant Babies
Monitoring your plantlets during the weeks following repotting helps you catch and fix culture problems before they permanently damage young foliage.
- Wilting or Drooping Leaves: This usually indicates transplant shock or underwatering. Ensure the soil is damp, and cover the pot with a clear plastic bag for a few days to boost local humidity if leaves remain limp.
- Brown Leaf Tips: Crisp brown tips on young plants generally stem from low humidity, dry soil, or sensitivity to minerals/fluoride in tap water. Switch to rainwater or distilled water and keep humidity moderate.
- Yellowing Base Leaves: Overwatering is the primary cause of yellowing foliage. Allow the soil surface to dry out slightly before watering again, and verify that the pot drains freely.
- Slow or Stunted Growth: If your plantlet stops growing, it may need brighter, indirect light or warmer room temperatures (ideally 65°F to 75°F). Avoid placing young plants near cold drafty windows or air conditioning vents.
Frequently asked questions
Should I put spider plant babies in water or soil first?
Both methods work well. Soil propagation creates stronger roots from the start and skips transplant shock, while water propagation lets you monitor root growth visually before pot placement.
How long does it take for spider plant babies to root?
Spider plant babies typically develop strong root systems in two to three weeks when kept in warm temperatures with bright, indirect sunlight.
Can I plant multiple spider plant babies in one pot?
Yes, planting three or four spiderettes together in a 4-inch pot creates a fuller, bushier plant much faster than planting a single baby alone.
Why are my repotted spider plant babies wilting?
Wilting usually happens due to initial transplant shock, underwatering, or planting in low humidity. Keep soil lightly moist and place the pot in bright, indirect light.
Are spider plant babies safe for pets?
Yes, spider plants are non-toxic to dogs and cats. However, cats are often attracted to them, so keeping pots out of reach prevents pets from chewing off foliage.
Sources & methodology
- Hardiness zones: USDA Plant Hardiness Zone Map.
- For local conditions, check your state’s cooperative extension service.
- Written and reviewed by the Biokies editorial team. Last updated November 19, 2026.
Photo: Nennieinszweidrei / Pixabay
📌 Save this guide for later on Pinterest
 Save